By Abdelhadi Dyouri and Brian MacDonald

The author selected the Free and Open Source Fund to receive a donation as part of the Write for DOnations program.
Introduction
In web applications, you usually need a database, which is an organized collection of data. You use a database to store and maintain persistent data that can be retrieved and manipulated efficiently. For example, in a social media application, you have a database where user data (personal information, posts, comments, followers) is stored in a way that can be efficiently manipulated. You can add data to a database, retrieve it, modify it, or delete it, depending on different requirements and conditions. In a web application, these requirements might be a user adding a new post, deleting a post, or deleting their account, which may or may not delete their posts. The actions you perform to manipulate data will depend on specific features in your application. For example, you might not want users to add posts with no titles.
Flask is a lightweight Python web framework that provides useful tools and features for creating web applications in the Python Language. MongoDB is a general-purpose, document-oriented, NoSQL database program that uses JSON-like documents to store data. Unlike tabular relations used in relational databases, JSON-like documents allow for flexible and dynamic schemas while maintaining simplicity. In general, NoSQL databases have the ability to scale horizontally, making them suitable for big data and real-time applications.
In this tutorial, you’ll build a small todo list web application that demonstrates how to use the PyMongo library, a MongoDB database driver that allows you to interact with your MongoDB database in Python. You’ll use it with Flask to perform basic tasks, such as connecting to a database server, creating collections that store a group of documents in MongoDB, inserting data to a collection, and retrieving and deleting data from a collection.
Prerequisites
-
A local Python 3 programming environment, follow the tutorial for your distribution in How To Install and Set Up a Local Programming Environment for Python 3 series. In this tutorial we’ll call our project directory
flask_app. -
MongoDB installed on your local machine. Follow the How To Install MongoDB on Ubuntu 20.04 guide to set up your MongoDB database.
-
An understanding of basic Flask concepts, such as routes, view functions, and templates. If you are not familiar with Flask, check out How to Create Your First Web Application Using Flask and Python and How to Use Templates in a Flask Application.
-
An understanding of basic HTML concepts. You can review our How To Build a Website with HTML tutorial series for background knowledge.
Step 1 — Setting Up PyMongo and Flask
In this step, you will install Flask and the PyMongo library.
With your virtual environment activated, use pip to install Flask and PyMongo:
- pip install Flask pymongo
Once the installation is successfully finished, you’ll see a line similar to the following at the end of the output:
Output
Successfully installed Flask-2.0.2 Jinja2-3.0.3 MarkupSafe-2.0.1 Werkzeug-2.0.2 click-8.0.3 itsdangerous-2.0.1 pymongo-4.0.1
Now that you’ve installed the required Python packages, you’ll connect to your MongoDB Server and create a collection.
Step 2 — Connecting to the MongoDB Server and Creating a Collection
In this step, you’ll use the PyMongo library to create a client you’ll use to interact with your MongoDB server, create a database, and then create a collection to store your todos.
With your programming environment activated, open a file called app.py for editing inside your flask_app directory:
- nano app.py
This file will import the necessary class and helpers from Flask and the PyMongo library. You’ll interact with your MongoDB server to create a database and create a collection for todos. Add the following code to app.py:
from flask import Flask
from pymongo import MongoClient

app = Flask(__name__)

client = MongoClient('localhost', 27017)

db = client.flask_db
todos = db.todos
Save and close the file.
Here you import the Flask class, which you use to create a Flask application instance called app.
You import the MongoClient which you use to create a client object for a MongoDB instance called client, which allows you to connect and interact with your MongoDB server. When you instantiate the MongoClient(), you pass it the host of your MongoDB server, which is localhost in our case, and the port, which is 27017 here.
Note:
It is strongly recommended that you harden your MongoDB installation’s security by following our guide on How To Secure MongoDB on Ubuntu 20.04. Once it’s secured, you could then configure MongoDB to accept remote connections.
Once you enable authentication in MongoDB, you’ll need to pass additional username and password parameters when creating an instance of MongoClient() like so:
client = MongoClient('localhost', 27017, username='username', password='password')
You then use the client instance to create a MongoDB database called flask_db and save a reference to it in a variable called db.
Then you create a collection called todos on the flask_db database using the db variable. Collections store a group of documents in MongoDB, like tables in relational databases.
In MongoDB, databases and collections are created lazily. This means that even if you execute the app.py file, none of the code related to the database will actually be executed until the first document is created. You will create a small Flask application with a page that allows users to insert todo documents into your todos collection in the next step. Once the first todo document is added, the flask_db database and the todos collection will be created on your MongoDB server.
To get a list of your current databases, open a new terminal, and start the mongo shell using the following command:
- mongo
A prompt will be opened, you can check your databases using the following command:
- show dbs
The output, if this is a new installation of MongoDB, will list the admin, config, and local databases.
You’ll notice that the flask_db doesn’t exist yet. Leave the mongo shell running in a terminal window and continue to the next step.
Step 3 — Creating a Web Page for Adding and Displaying Todos
In this step, you’ll create a web page with a web form that allows users to add todos, and display them on the same page.
With your programming environment activated, open your app.py file for editing:
- nano app.py
First, add the following imports from flask:
from flask import Flask, render_template, request, url_for, redirect
from pymongo import MongoClient

# ...
Here, you import the render_template() helper function you’ll use to render an HTML template, the request object to access data the user will submit, the url_for() function to generate URLs, and the redirect() function to redirect the user back to the index page after adding a todo.
Then add the following route at the end of the file:
# ...


@app.route('/', methods=('GET', 'POST'))
def index():
    return render_template('index.html')
Save and close the file.
In this route, you pass the tuple ('GET', 'POST') to the methods parameter to allow both GET and POST requests. GET requests are used to retrieve data from the server. POST requests are used to post data to a specific route. By default, only GET requests are allowed. When the user first requests the / route using a GET request, a template file called index.html will be rendered. You will later edit this route to handle POST requests for when users fill and submit the web form for creating new todos.
Next create a templates folder in your flask_app directory, and the index.html template you referenced in the preceding route:
- mkdir templates
- nano templates/index.html
Add the following code inside the index.html file:
<!DOCTYPE html>
<html lang="en">
<head>
    <meta charset="UTF-8">
    <title>FlaskApp</title>
    <style>
        .todo {
            padding: 20px;
            margin: 10px;
            background-color: #eee;
        }
    </style>
</head>
<body>
    <h1>FlaskTODO</h1>
    <hr>
    <div class="content">
    <form method="post">
        <p>
            <b><label for="content">Todo content</label></b>
        </p>
        <p>
            <input type="text" name="content"
                placeholder="Todo Content"></input>
        </p>

        <p>
            <b><label for="degree">Degree</label></b>
        </p>
        <p>
            <input id="degree-0" name="degree" required type="radio" value="Important">
            <label for="degree-0">Important</label>
        </p>
        <p>
            <input id="degree-1" name="degree" required type="radio" value="Unimportant">
            <label for="degree-1">Unimportant</label>
        </p>
        <button type="submit">Submit</button>
    </form>
    </div>
</body>
</html>
Save and close the file.
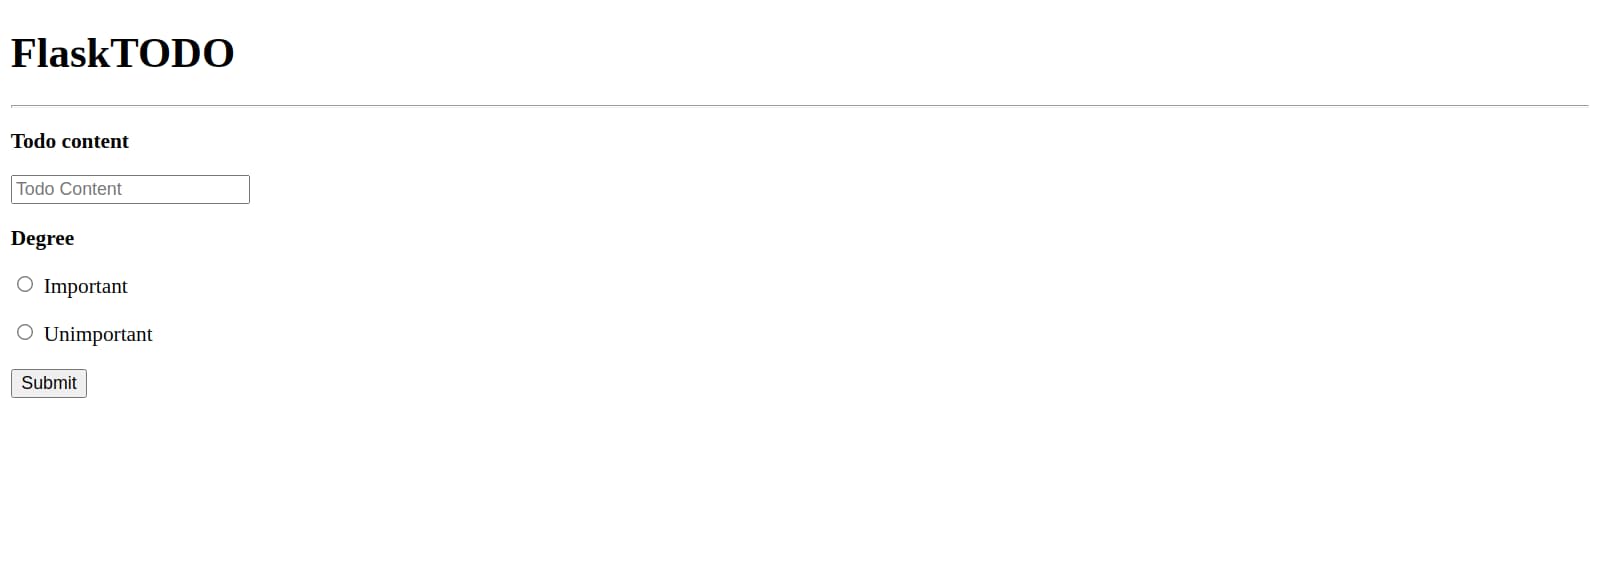
Here you have a basic HTML page with a title, some styles, a heading, and a web form. In the web form, you set the method attribute to post to indicate that the form will submit a POST request. You have a text input field for the todo content with the name content, which you’ll use to access the title data in your / route. You also have two HTML radio buttons with the name degree, which allows the user to specify the degree of importance for each todo item: they can select either the Important option or the Unimportant option when creating a todo. Last, you have a Submit button at the end of the form.
While in your flask_app directory with your virtual environment activated, tell Flask about the application (app.py in this case) using the FLASK_APP environment variable. Then set the FLASK_ENV environment variable to development to run the application in development mode and get access to the debugger. For more information about the Flask debugger, see How To Handle Errors in a Flask Application. Use the following commands to do this:
- export FLASK_APP=app
- export FLASK_ENV=development
Next, run the application:
- flask run
Note:
You might receive a ModuleNotFoundError: No module named 'pymongo' error when attempting to run the application. To fix this, deactivate your virtual environment and reactivate it. Then run the flask run command again.
With the development server running, visit the following URL using your browser:
http://127.0.0.1:5000/
You will see the index page with an input field for todo content, two radio buttons for the degree of importance, and a Submit button.
For more on web forms, see How To Use Web Forms in a Flask Application. For a more advanced and more secure method of managing web forms, see How To Use and Validate Web Forms with Flask-WTF.
If you fill in the form and submit it, sending a POST request to the server, nothing happens because you did not handle POST requests on the / route.
Leave the server running and open a new terminal window.
Open app.py to handle the POST request the user submits, add them to the todos collection, and display them on the index page:
- nano app.py
Edit the / route to look as follows:
@app.route('/', methods=('GET', 'POST'))
def index():
    if request.method=='POST':
        content = request.form['content']
        degree = request.form['degree']
        todos.insert_one({'content': content, 'degree': degree})
        return redirect(url_for('index'))

    all_todos = todos.find()
    return render_template('index.html', todos=all_todos)
Save and close the file.
In these changes, you handle POST requests inside the if request.method == 'POST' condition. You extract the todo content and degree of importance the user submits from the request.form object.
You use the insert_one() method on the todos collection to add a todo document into it. You provide todo data in a Python dictionary, setting the 'content' to the value the user submitted in the text field for the todo content, and setting the 'degree' key to the value of the radio button the user selects. You then redirect to the index page, which will refresh the page and display the newly added todo item.
To display all the saved todos, you use the find() method outside the code responsible for handling POST requests, which returns all the todo documents available in the todos collection. You save the todos you get from the database in a variable called all_todos, and then you edit the render_template() function call to pass the list of todo documents to the index.html template, which will be available in the template in a variable called todos.
If you refresh the index page, you might receive a message from the browser asking you to confirm form resubmission. If you accept, the todo item you previously submitted before handling POST requests will then be added to the database, because the code for handling forms now exists in the route.
Because the index page has no code to display todo items yet, the item you added will not be visible. If you allowed the browser to resubmit your form, you can see the newly added data by opening your mongo shell, and connecting to the flask_db database using the following command:
- use flask_db
Then use the find() function to get all the todo items in the database:
- db.todos.find()
If any data was resubmitted, you’ll see it here in your output.
Next, open the index.html template to display the contents of the todos list you passed to it:
- nano templates/index.html
Edit the file by adding an <hr> break and a Jinja for loop after the form, so that the file looks as follows:
<!DOCTYPE html>
<html lang="en">
<head>
    <meta charset="UTF-8">
    <title>FlaskApp</title>
    <style>
        .todo {
            padding: 20px;
            margin: 10px;
            background-color: #eee;
        }
    </style>
</head>
<body>
    <h1>FlaskTODO</h1>
    <hr>
    <div class="content">
    <form method="post">
        <p>
            <b><label for="content">Todo content</label></b>
        </p>
        <p>
            <input type="text" name="content"
                placeholder="Todo Content"></input>
        </p>

        <p>
            <b><label for="degree">Degree</label></b>
        </p>
        <p>
            <input id="degree-0" name="degree" required type="radio" value="Important">
            <label for="degree-0">Important</label>
        </p>
        <p>
            <input id="degree-1" name="degree" required type="radio" value="Unimportant">
            <label for="degree-1">Unimportant</label>
        </p>
        <button type="submit">Submit</button>
    </form>
    <hr>
    {% for todo in todos %}
        <div class="todo">
            <p>{{ todo['content'] }} <i>({{ todo['degree']}})</i></p>
        </div>
    {% endfor %}

    </div>
</body>
</html>
Save and close the file.
In this file, you add an <hr> tag to separate the web form and the list of todos.
You use a for loop in the line {% for todo in todos %} to go through each todo item in the todos list. You display the todo content and the degree of importance inside a <p> tag.
Now refresh your index page, fill in the web form, and submit it. You’ll see the todo you added below the form. Next, you’ll add a button to allow users to delete existing todos.
Step 4 — Deleting Todos
In this step, you’ll add a route that allows users to delete todos using a button.
First, you’ll add a new /id/delete route that accepts POST requests. Your new delete() view function will receive the ID of the todo to be deleted from the URL, then use that ID to delete it.
To delete a todo, you get its ID as a string, and you must convert it to an ObjectId before passing it to the collection’s delete method. So you need to import the ObjectId() class from the bson module, which handles BSON (Binary JSON) encoding and decoding.
Open app.py for editing:
- nano app.py
First, add the following import at the top of the file:
from bson.objectid import ObjectId

# ...
This is the ObjectId() class you’ll use to convert string IDs to ObjectId objects.
Then add the following route at the end:
# ...


@app.post('/<id>/delete/')
def delete(id):
    todos.delete_one({"_id": ObjectId(id)})
    return redirect(url_for('index'))
Save and close the file.
Here, instead of using the usual app.route decorator, you use the app.post decorator introduced in Flask version 2.0.0, which added shortcuts for common HTTP methods. For example, @app.post("/login") is a shortcut for @app.route("/login", methods=["POST"]). This means that this view function only accepts POST requests, and navigating to the /ID/delete route on your browser will return a 405 Method Not Allowed error, because web browsers default to GET requests. To delete a todo, the user clicks on a button that sends a POST request to this route.
The function receives the ID of the todo document to be deleted. You pass this ID to the delete_one() method on the todos collection, and you convert the string ID you receive to an ObjectId using the ObjectId() class you imported earlier.
After deleting the todo document, you redirect the user to the index page.
Next, edit the index.html template to add a Delete Todo button:
- nano templates/index.html
Edit the for loop by adding a new <form> tag:
    {% for todo in todos %}
        <div class="todo">
            <p>{{ todo['content'] }} <i>({{ todo['degree']}})</i></p>
            <form method="POST" action="{{ url_for('delete', id=todo['_id']) }}" >
                <input type="submit" value="Delete Todo"
                       onclick="return confirm('Are you sure you want to delete this entry?')">
            </form>
        </div>
    {% endfor %}
Save and close the file.
Here, you have a web form that submits a POST request to the delete() view function. You pass todo['_id'] to specify the todo that will be deleted. You use the confirm() method available in web browsers to display a confirmation message before submitting the request.
Now refresh your index page and you’ll see a Delete Todo button below each todo item. Click on it, and confirm the deletion. You’ll be redirected to the index page, and the todo will no longer be there.
You now have a way of deleting unwanted todos from your mongoDB database in your Flask application.
To confirm the deletion, open your mongo shell and use the find() function:
- db.todos.find()
You should see that the items you’ve deleted are no longer in your todos collection.
Conclusion
You built a small Flask web application for managing todos that communicates with a MongoDB database. You learned how to connect to a MongoDB database server, create collections that store a group of documents, insert data to a collection, and retrieve and delete data from a collection.
If you would like to read more about Flask, check out the other tutorials in the How To Create Web Sites with Flask series.
For more on MongoDB, see our How To Manage Data with MongoDB tutorial series.
Thanks for learning with the DigitalOcean Community. Check out our offerings for compute, storage, networking, and managed databases.
Tutorial Series: How To Build Web Applications with Flask

Flask is a lightweight Python web framework that provides useful tools and features for creating web applications in the Python Language. It gives developers flexibility and is an accessible framework for new developers because you can build a web application quickly using only a single Python file. Flask is also extensible and doesn’t force a particular directory structure or require complicated boilerplate code before getting started. Learning Flask will allow you to quickly create web applications in Python. You can take advantage of Python libraries to add advanced features to your web application, like storing your data in a database, or validating web forms.
Browse Series: 13 tutorials
About the author(s)
Web developer. I mostly use Python & JavaScript. I like Flask and I am currently learning React. You can say hi on Twitter :)
Editor at DigitalOcean, former book editor at Pragmatic, O'Reilly, and others. Occasional conference speaker. Highly nerdy.
Still looking for an answer?
This textbox defaults to using Markdown to format your answer.
You can type !ref in this text area to quickly search our full set of tutorials, documentation & marketplace offerings and insert the link!
 This work is licensed under a Creative Commons Attribution-NonCommercial- ShareAlike 4.0 International License.
Become a contributor for community
Get paid to write technical tutorials and select a tech-focused charity to receive a matching donation.

DigitalOcean Documentation
Full documentation for every DigitalOcean product.

Resources for startups and AI-native businesses
The Wave has everything you need to know about building a business, from raising funding to marketing your product.
The developer cloud
Scale up as you grow — whether you're running one virtual machine or ten thousand.

Start building today
From GPU-powered inference and Kubernetes to managed databases and storage, get everything you need to build, scale, and deploy intelligent applications.
