- Log in to:
- Community
- DigitalOcean
- Sign up for:
- Community
- DigitalOcean
![How to Install PyCharm on Linux [Step-By-Step] How to Install PyCharm on Linux [Step-By-Step]](https://www.digitalocean.com/api/static-content/v1/images?src=https%3A%2F%2Fjournaldev.nyc3.cdn.digitaloceanspaces.com%2F2022%2F02%2FInstalling-pycharm-in-Linux-.png.webp&width=1920)
PyCharm is an Integrated Development Environment for Python developed by Jetbrains. It offers an intelligent code editor and tools for debugging, refactoring, and profiling the code.
Apart from this it also has a built-in terminal and integration with major Version controls systems (Git, SVN, etc.) and Virtual Machines like Docker and Vagrant.
This feature-rich environment is the reason, PyCharm has quickly become one of the most popular IDE among developers. Since a lot of developers use Linux, we will take a look at how to install PyCharm on Linux.
Installing PyCharm on Linux
There are two major ways to install Pycharm on Linux. The first one is using the official tar package released by JetBrains and the other is through a Snap package.
Installing PyCharm on Linux using Snap
Snaps are an app package developed by Canonical. They are marketed as universal packages and are supported by all major distributions including Ubuntu, Linux Mint, Debian, Arch, Fedora, and Manjaro. For a full list of supported distributions refer here.
To install packages through snap, we first need to have snapd on your system. If you don’t have snap installed on your system, refer here to learn how to download snap.
Now to install PyCharm, run the following command:
sudo snap install pycharm-community --classic  \\For free version
sudo snap install pycharm-professional --classic \\For paid version
Installing PyCharm on Linux using tar
This method simply required downloading and unpacking a tarball and can be used on ANY Linux distribution.
Step 1: Download Tarball
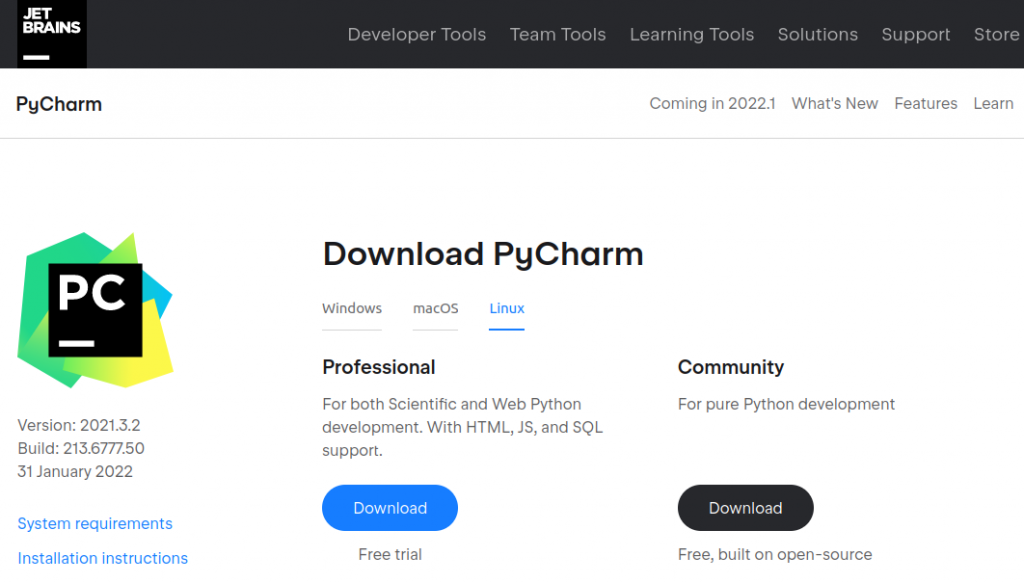
Go to the Pycharm Download page and download the package of your choice. In this tutorial, I will be installing the Community (Free) package.

Step 2: Extract the Tarball
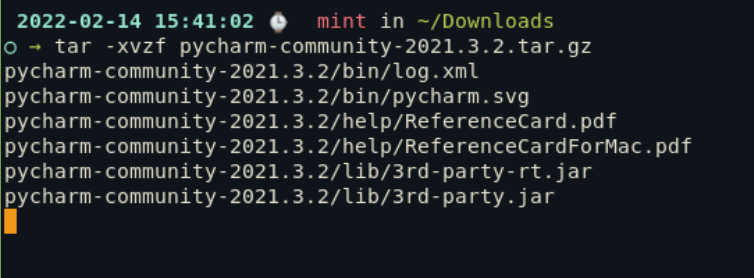
After you have downloaded the tar package, go ahead and unpack it using the tar command.
tar -xvzf /path/to/pycharm/tarball

Flags explained :
- x : Extract the tar file
- v : Makes the process verbose but
- z : Uses gzip (for tar.gz files)
- f : Specifies file input
Step 3: Make PyCharm executable
With Tarballs, we don’t have to install anything. Instead, we just have to extract the tarball and make the shell script executable by giving them certain permissions.
To do this, go to the extracted folder (it must be in the same folder as the tarball), enter its bin folder and use chmod on the PyCharm shell file.
cd pycharm-community-2021.3.2/bin/
chmod u+x pycharm.sh
./pycharm.sh

Setting up Pycharm on Linux
If you have installed Pycharm through snaps, you can launch it from the start menu or by typing Pycharm in the terminal. If you have installed it through tarball, simply go to the bin folder of the extracted pycharm folder and execute the pycharm.sh file by typing ./pycharm.sh in the terminal.
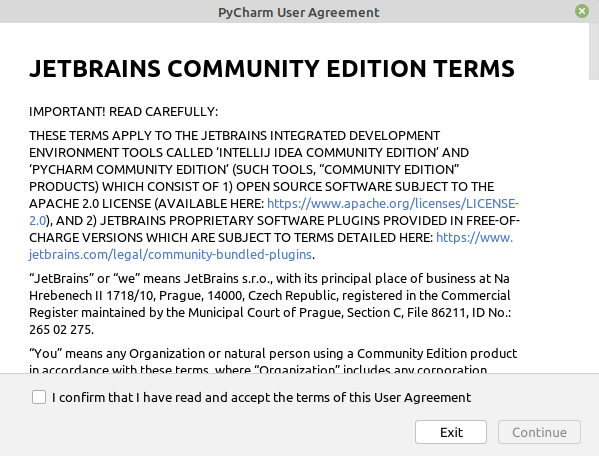
When you start up PyCharm for the first time, you will be prompted with terms and conditions. After accepting the Terms and Conditions, PyCharm will ask you whether you want to send “Anonymous Statistics” or not.

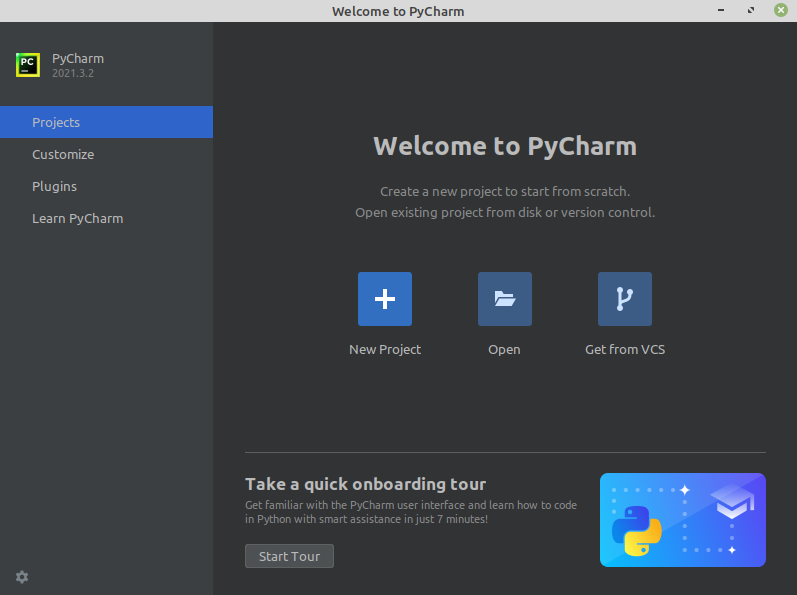
After accepting the necessary terms, you can start your first project in Pycharm or you can open an already existing project. Other than this you can also open a project from VCS such as Git.

Conclusion
In this article, we learned how to install Pycharm, which is an integrated development environment widely used by programmers around the world. It can be installed either using the tar file or the snap package manager. To learn more about Pycharm, check out the documentation here. How to Install PyCharm on Linux
Thanks for learning with the DigitalOcean Community. Check out our offerings for compute, storage, networking, and managed databases.
About the author
Still looking for an answer?
- Table of contents
- Installing PyCharm on Linux
- Setting up Pycharm on Linux
- Conclusion
Deploy on DigitalOcean
Click below to sign up for DigitalOcean's virtual machines, Databases, and AIML products.
Become a contributor for community
Get paid to write technical tutorials and select a tech-focused charity to receive a matching donation.
DigitalOcean Documentation
Full documentation for every DigitalOcean product.
Resources for startups and SMBs
The Wave has everything you need to know about building a business, from raising funding to marketing your product.
Get our newsletter
Stay up to date by signing up for DigitalOcean’s Infrastructure as a Newsletter.
New accounts only. By submitting your email you agree to our Privacy Policy
The developer cloud
Scale up as you grow — whether you're running one virtual machine or ten thousand.
Get started for free
Sign up and get $200 in credit for your first 60 days with DigitalOcean.*
*This promotional offer applies to new accounts only.
