- Log in to:
- Community
- DigitalOcean
- Sign up for:
- Community
- DigitalOcean
By Erin Glass
Senior Manager, DevEd

The HTML Content Division element (<div>) acts as a container to structure a webpage into separate components for individual styling. This tutorial will teach you how to create and style <div> containers on your webpage.
On its own, the <div> element has little effect on the layout of the page and is usually given attributes to adjust its size, color, position, or other features. Typically, developers style <div> elements with CSS, but this tutorial will give you an understanding of how <div> elements work by styling them directly in an HTML document.
The <div> element is styled with the HTML style attribute. As demonstrated in the example below, a <div> element can contain multiple style properties:
<div style=”property: value; property: value;”></div>
Notice that the <div> element has opening and closing tags but does not require any content. To understand how the <div> element works in practice, clear your index.html file and paste the code below inside. (If you have not been following the tutorial series, you can review instructions for setting up an index.html file in our tutorial Setting Up Your HTML Project.
<div style="width:300px;height:200px; background-color:red;">
</div>
Save the file and reload it in the browser. (For instructions on loading the file in your browser, see our tutorial here.) You should receive a red box with a width of 300 pixels and a height of 200 pixels like this:

You can also add content to a <div> element by adding content in between the opening and closing <div> tags. Try adding text in between your <div> tags like so:
<div style="width:300px;height:300px; background-color:red;">
  This is text inside a div.
</div>
Save the file and reload it in the browser. You should receive something like this:

You can also put <div> containers inside <div> containers. Try adding a yellow <div> container inside the red <div> container like so:
<div style="width:300px;height:300px; background-color:red;">
  <div style="width:100px;height:100px; background-color:yellow;">
  </div>
</div>
Save the file and reload it in the browser. You should receive something like this:

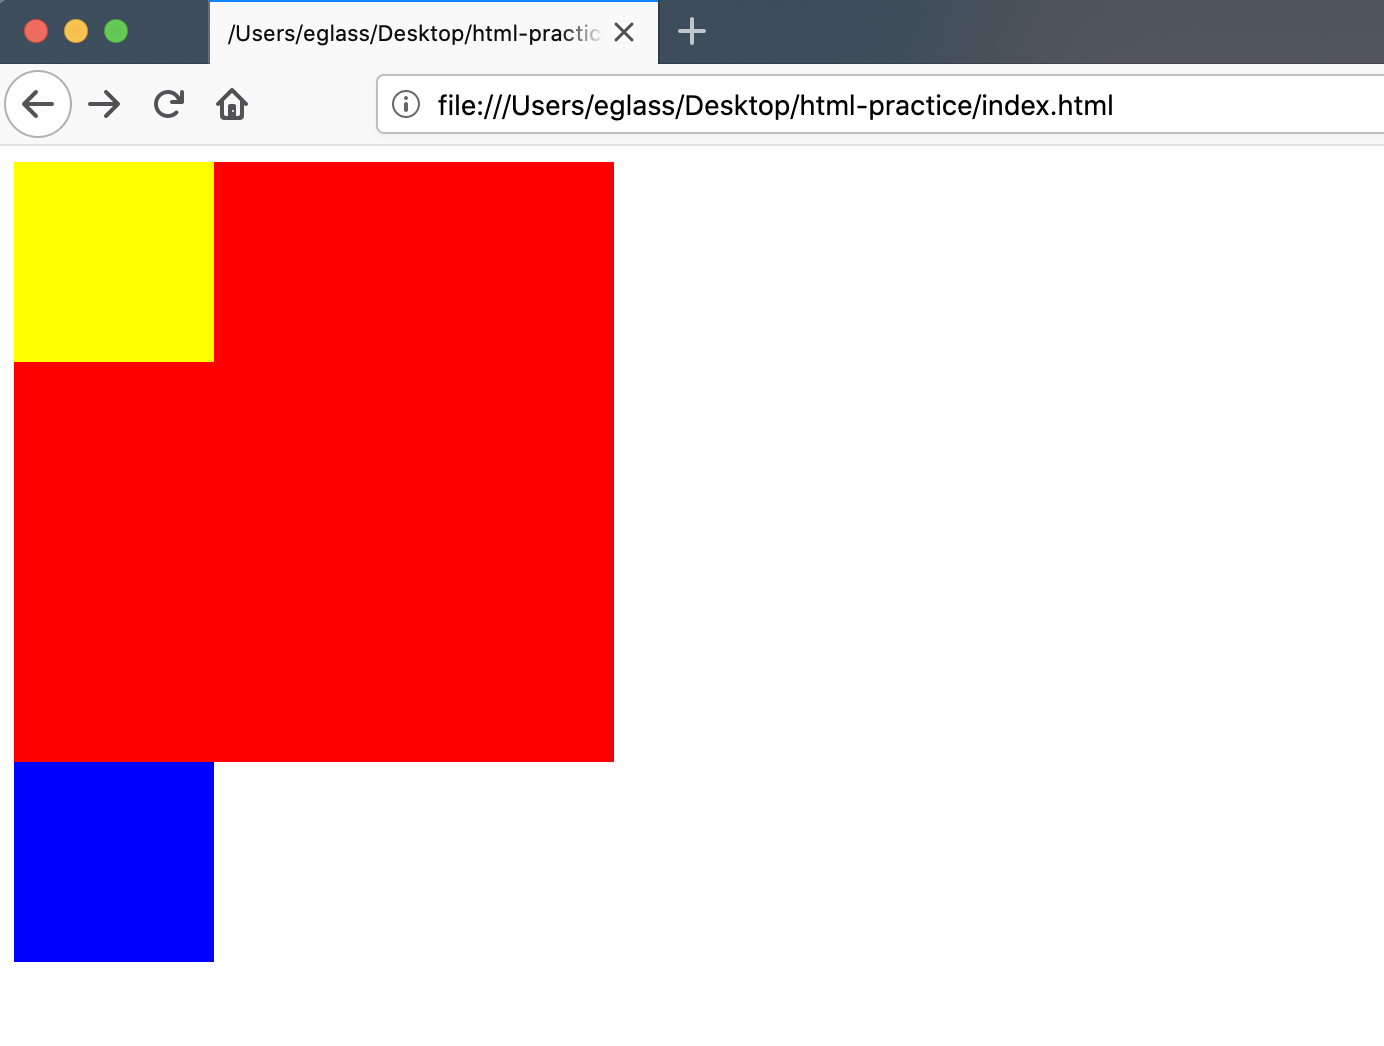
Note that <div> elements are block-level elements and will start on their own line and push subsequent elements down to the next line. Try adding another <div> element to your file to understand how it is pushed down to the next line (even though there appears to be enough space for it to fit next to the second <div> element:
<div style="width:300px;height:300px;background-color:red;">
  <div style="width:100px;height:100px; background-color:yellow;">
  </div>
</div>
<div style="width:100px;height:100px; background-color:blue;">
</div>
Save the file and reload it in the browser. You should receive something like this:

You should now have a basic understanding of how <div> elements work. We will return to <div> elements when we begin building our website in the third section of this tutorial series.
Thanks for learning with the DigitalOcean Community. Check out our offerings for compute, storage, networking, and managed databases.
Tutorial Series: How To Build a Website with HTML
This tutorial series will guide you through creating and further customizing this website using HTML, the standard markup language used to display documents in a web browser. No prior coding experience is necessary but we recommend you start at the beginning of the series if you wish to recreate the demonstration website.
At the end of this series, you should have a website ready to deploy to the cloud and a basic familiarity with HTML. Knowing how to write HTML will provide a strong foundation for learning additional front-end web development skills, such as CSS and JavaScript.
Browse Series: 23 tutorials
About the author
Open source advocate and lover of education, culture, and community.
Still looking for an answer?
This textbox defaults to using Markdown to format your answer.
You can type !ref in this text area to quickly search our full set of tutorials, documentation & marketplace offerings and insert the link!
- Table of contents
Deploy on DigitalOcean
Click below to sign up for DigitalOcean's virtual machines, Databases, and AIML products.
Become a contributor for community
Get paid to write technical tutorials and select a tech-focused charity to receive a matching donation.
DigitalOcean Documentation
Full documentation for every DigitalOcean product.
Resources for startups and SMBs
The Wave has everything you need to know about building a business, from raising funding to marketing your product.
Get our newsletter
Stay up to date by signing up for DigitalOcean’s Infrastructure as a Newsletter.
New accounts only. By submitting your email you agree to our Privacy Policy
The developer cloud
Scale up as you grow — whether you're running one virtual machine or ten thousand.
Get started for free
Sign up and get $200 in credit for your first 60 days with DigitalOcean.*
*This promotional offer applies to new accounts only.
