- Log in to:
- Community
- DigitalOcean
- Sign up for:
- Community
- DigitalOcean
By Erin Glass
Senior Manager, DevEd

In this tutorial, we will add and style a title and subtitle to our homepage. For the demonstration site, we’re using Sammy’s name and Sammy’s professional title, but you can add any content here that you like. For this content, we’ll use the <h1> heading element, the <p> paragraph element, and the <em> emphasis element.
Paste the following highlighted code snippet after your profile <img> element and before the closing </div> tag:
...
<img src="https://html.sammy-codes.com/images/small-profile.jpeg" style="height:150px; border-radius: 50%; border: 10px solid #FEDE00; padding-top:80px;">
<h1>Sammy the Shark</h1>
<p><em>Senior Selachimorpha at DigitalOcean</em></p>
</div>
Make sure to change the text with your own information.
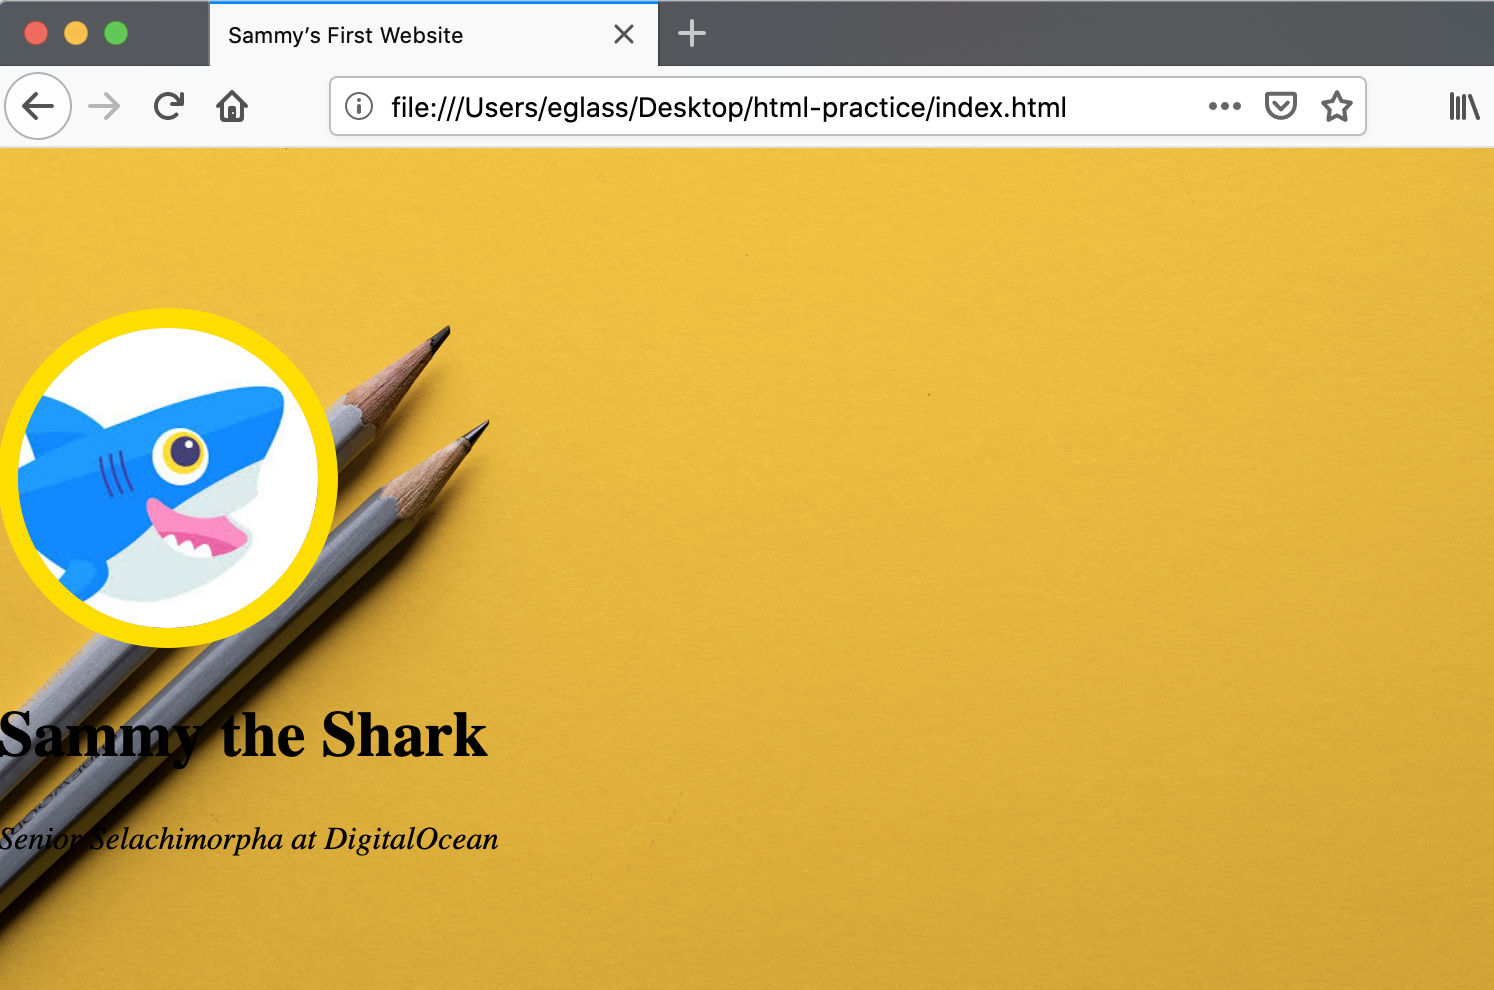
Save the file and reload it in the browser. You should receive something like this:

The elements used in this code snippet apply some light styling to our title and subtitle. However, we’ll need to add additional style values if we want the style of our title and subtitle to match the style of the demonstration site.
To make these modifications, we’ll add the style attribute to these elements to set additional properties. Add the highlighted attributes to your <h1> and <p> elements as demonstrated in the following code snippet:
<h1 style="font-size:100px; color:white; margin:10px;">Sammy the Shark</h1>

<p style="font-size:30px; color: white;"><em>Senior Selachimorpha at DigitalOcean</em></p>
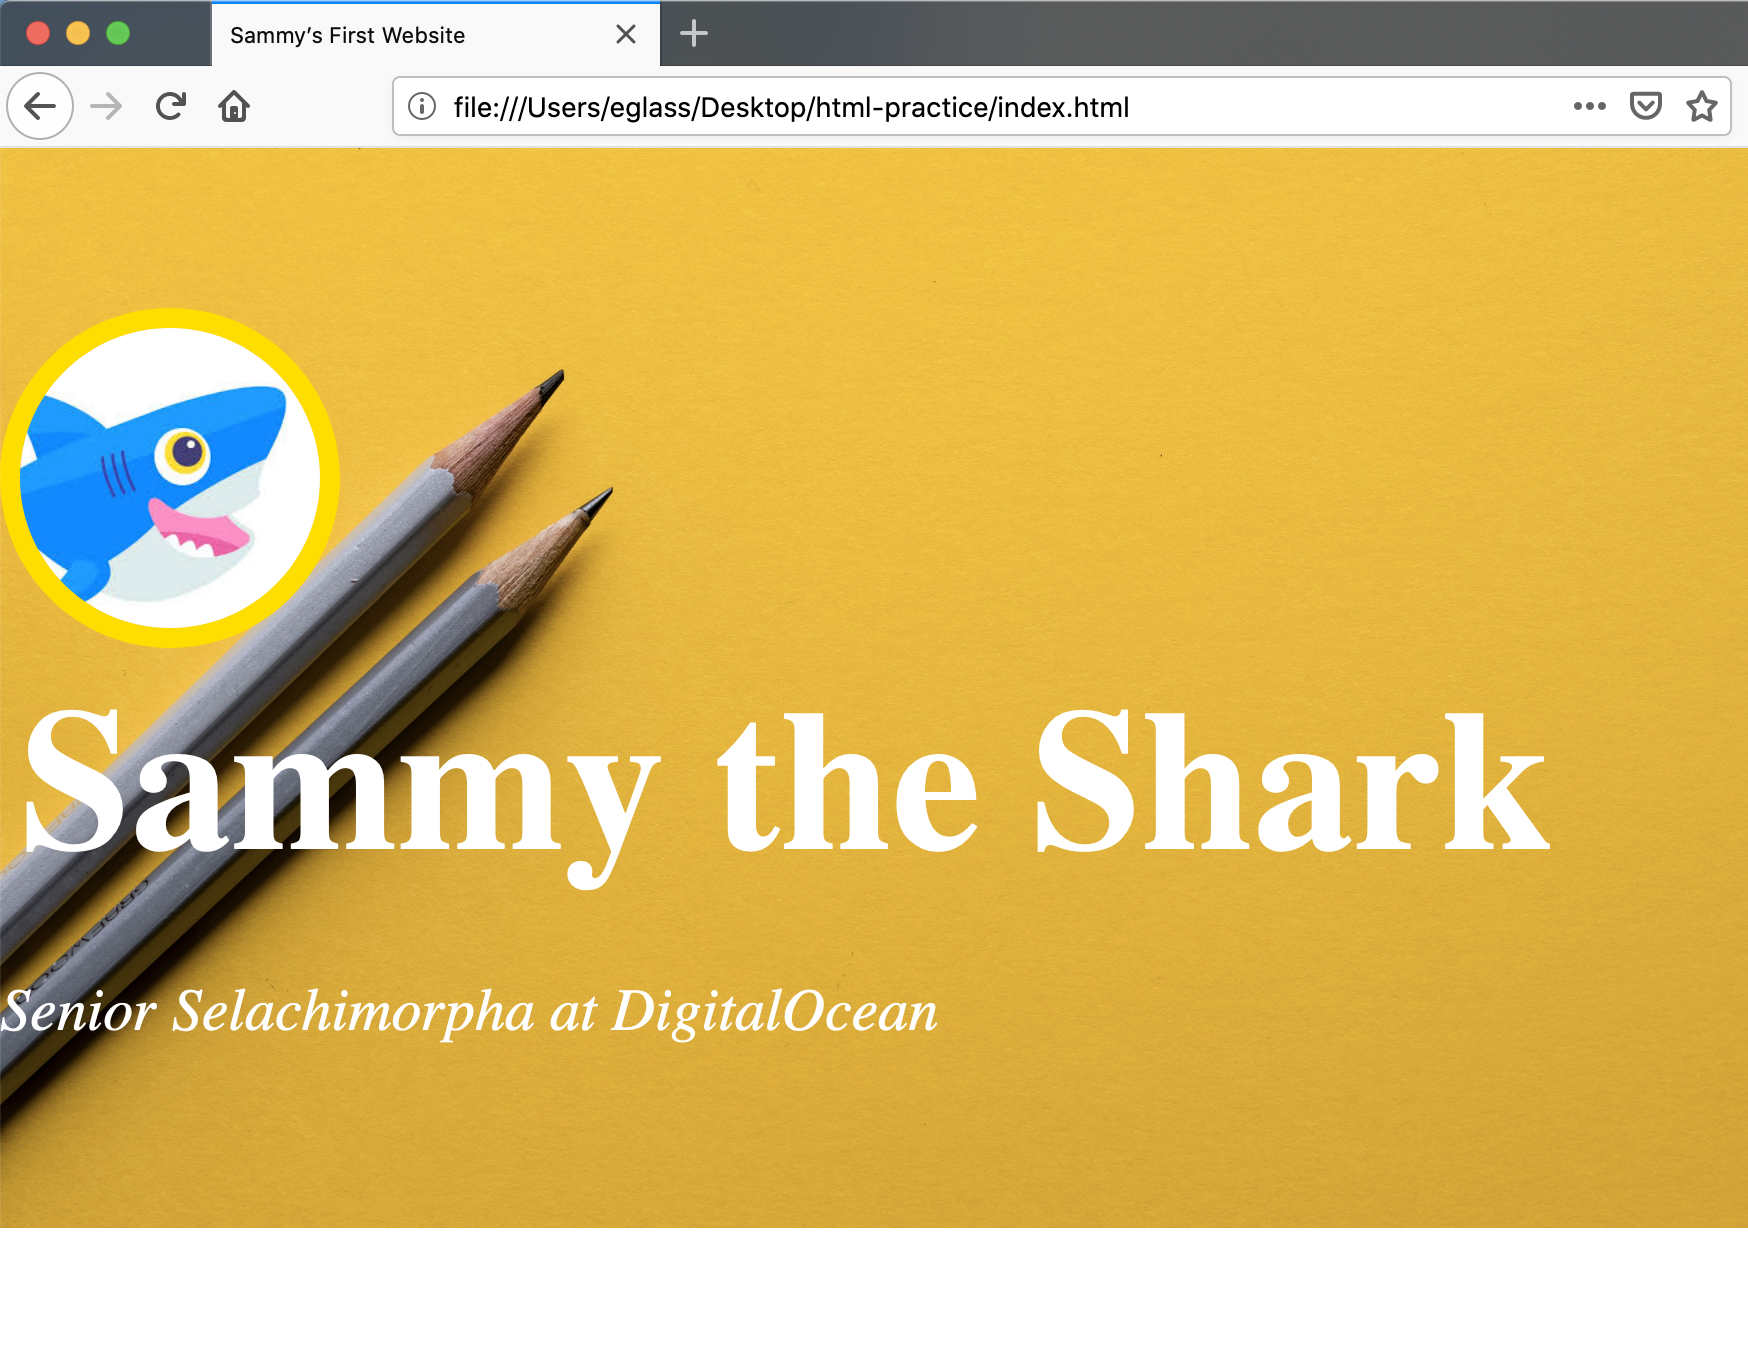
Save your file and reload it in the browser. You should receive something like this:

These style properties adjust the font size to 30 pixels and change the font color to white. We have also added a margin of 10 pixels to the <h1> element.
You should now know how to add and style a title and subtitle to your webpage with HTML. In the next tutorial, we’ll learn how to create and link to an additional webpage on your website.
Thanks for learning with the DigitalOcean Community. Check out our offerings for compute, storage, networking, and managed databases.
Tutorial Series: How To Build a Website with HTML
This tutorial series will guide you through creating and further customizing this website using HTML, the standard markup language used to display documents in a web browser. No prior coding experience is necessary but we recommend you start at the beginning of the series if you wish to recreate the demonstration website.
At the end of this series, you should have a website ready to deploy to the cloud and a basic familiarity with HTML. Knowing how to write HTML will provide a strong foundation for learning additional front-end web development skills, such as CSS and JavaScript.
Browse Series: 23 tutorials
About the author
Open source advocate and lover of education, culture, and community.
Still looking for an answer?
This textbox defaults to using Markdown to format your answer.
You can type !ref in this text area to quickly search our full set of tutorials, documentation & marketplace offerings and insert the link!
- Table of contents
Deploy on DigitalOcean
Click below to sign up for DigitalOcean's virtual machines, Databases, and AIML products.
Become a contributor for community
Get paid to write technical tutorials and select a tech-focused charity to receive a matching donation.
DigitalOcean Documentation
Full documentation for every DigitalOcean product.
Resources for startups and SMBs
The Wave has everything you need to know about building a business, from raising funding to marketing your product.
Get our newsletter
Stay up to date by signing up for DigitalOcean’s Infrastructure as a Newsletter.
New accounts only. By submitting your email you agree to our Privacy Policy
The developer cloud
Scale up as you grow — whether you're running one virtual machine or ten thousand.
Get started for free
Sign up and get $200 in credit for your first 60 days with DigitalOcean.*
*This promotional offer applies to new accounts only.
